How To Send Cold Emails Without Landing In Spam


Updated June 2026
If you send thousands of cold emails from a single email account, then your emails will go to spam.
In this article, I show you how you can send an unlimited number of cold emails without landing in spam.
I will cover the following:
1. Setting up email accounts
2. Finding leads
3. Sending emails
4. Scaling & optimizing
1. Setting up email accounts
I recommend that you use Google Workspace email accounts as they have the best deliverability (you will get more replies).
The easiest way to set up Google Workspace email accounts is through Emailchaser's done-for-you email setup service. You can order email accounts after signing up for an Emailchaser account.
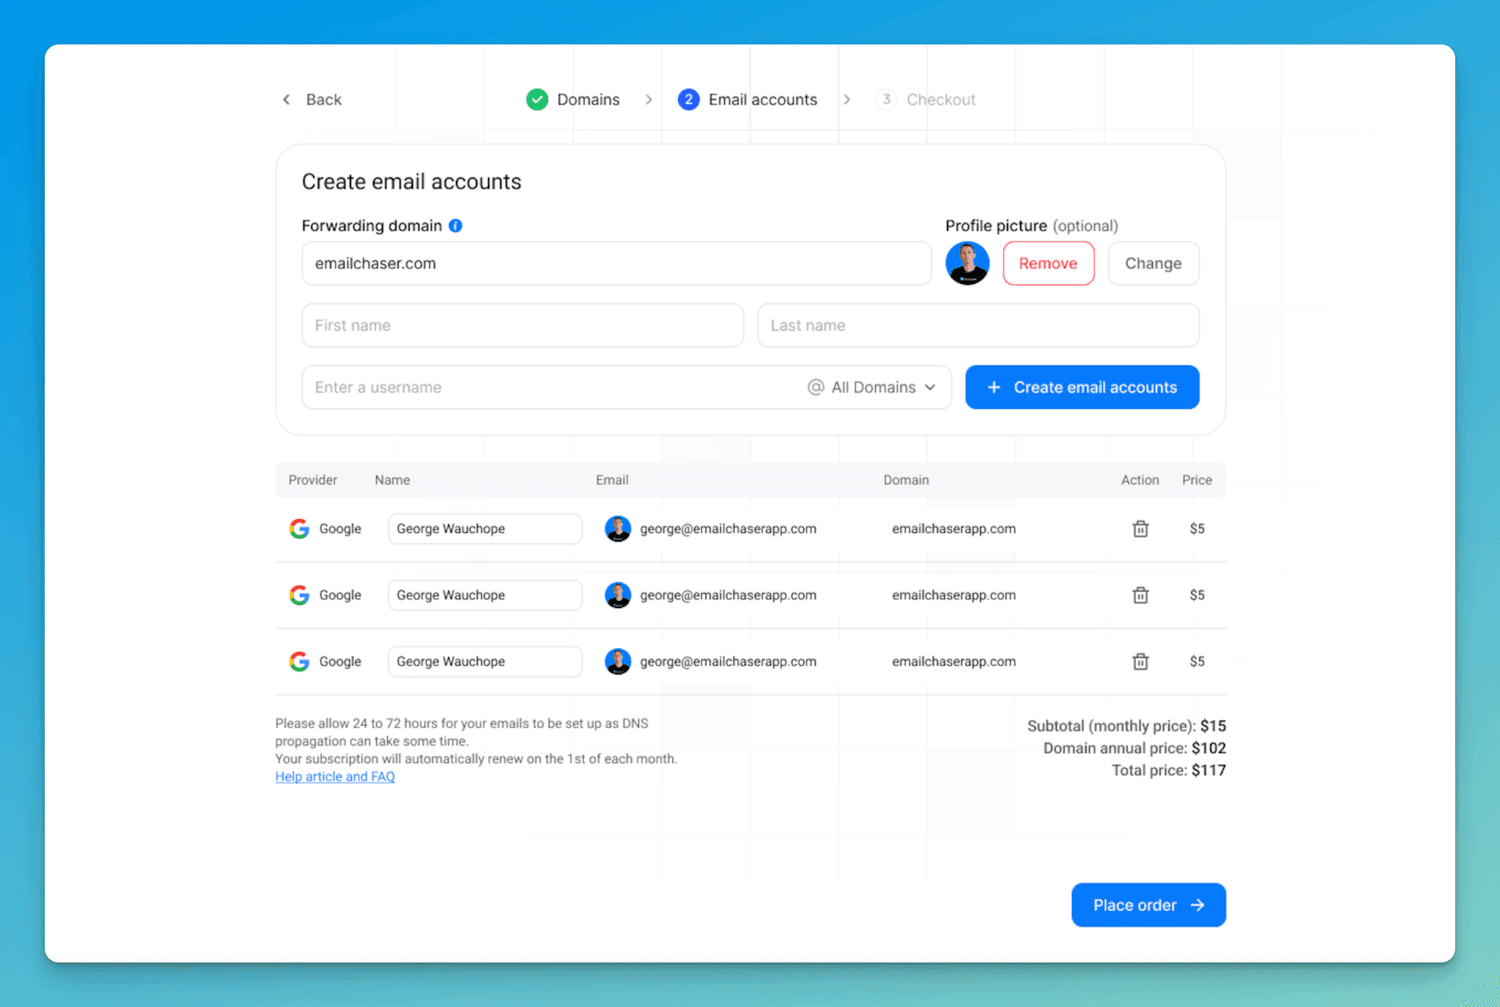
I recommend that you only send 40 emails max per day per email account. If you send too many emails from a single email account, then you are likely to land in spam.
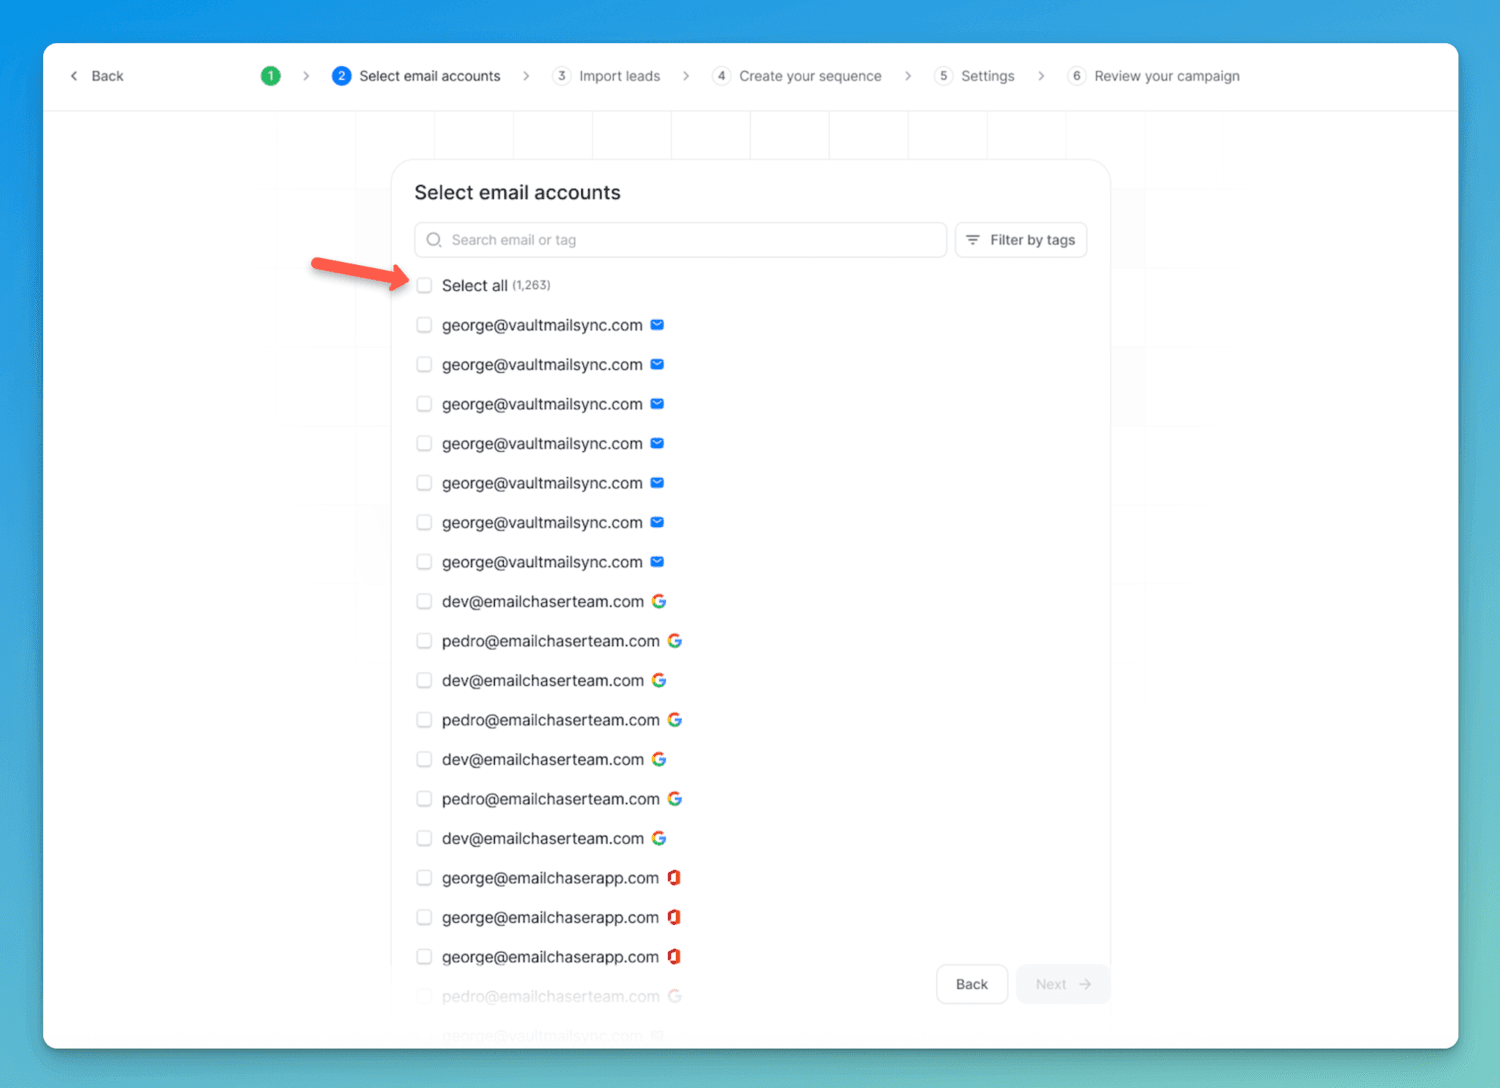
You can scale your sending volume by connecting multiple email accounts to the same campaign. You can use Emailchaser's default "inbox rotation" feature to automatically rotate the sending between these accounts.
2. Finding leads
Now that you have set up your email accounts, you need to find people to email.
Your lead list is by far the most important factor affecting the success of your cold email campaign.
Some people promote the idea that you need to send thousands of emails to get a single response; this isn’t true, and can hurt your deliverability, since sending a high volume of cold emails with a very low response rate will inevitably lead to your email accounts getting blacklisted by ESPs.
Your lead list directly impacts your deliverability, since a low response rate causes your email accounts to get blacklisted, thus causing your emails to go to spam.
A high response rate (greater than 2%) is not optional if you are serious about your deliverability.
The only way to get a high response rate is by building a relevant lead list.
Database tools like Apollo and ZoomInfo are not the most accurate.
LinkedIn Sales Navigator is the most accurate source for B2B leads, since LinkedIn is the only platform that actually owns the data.
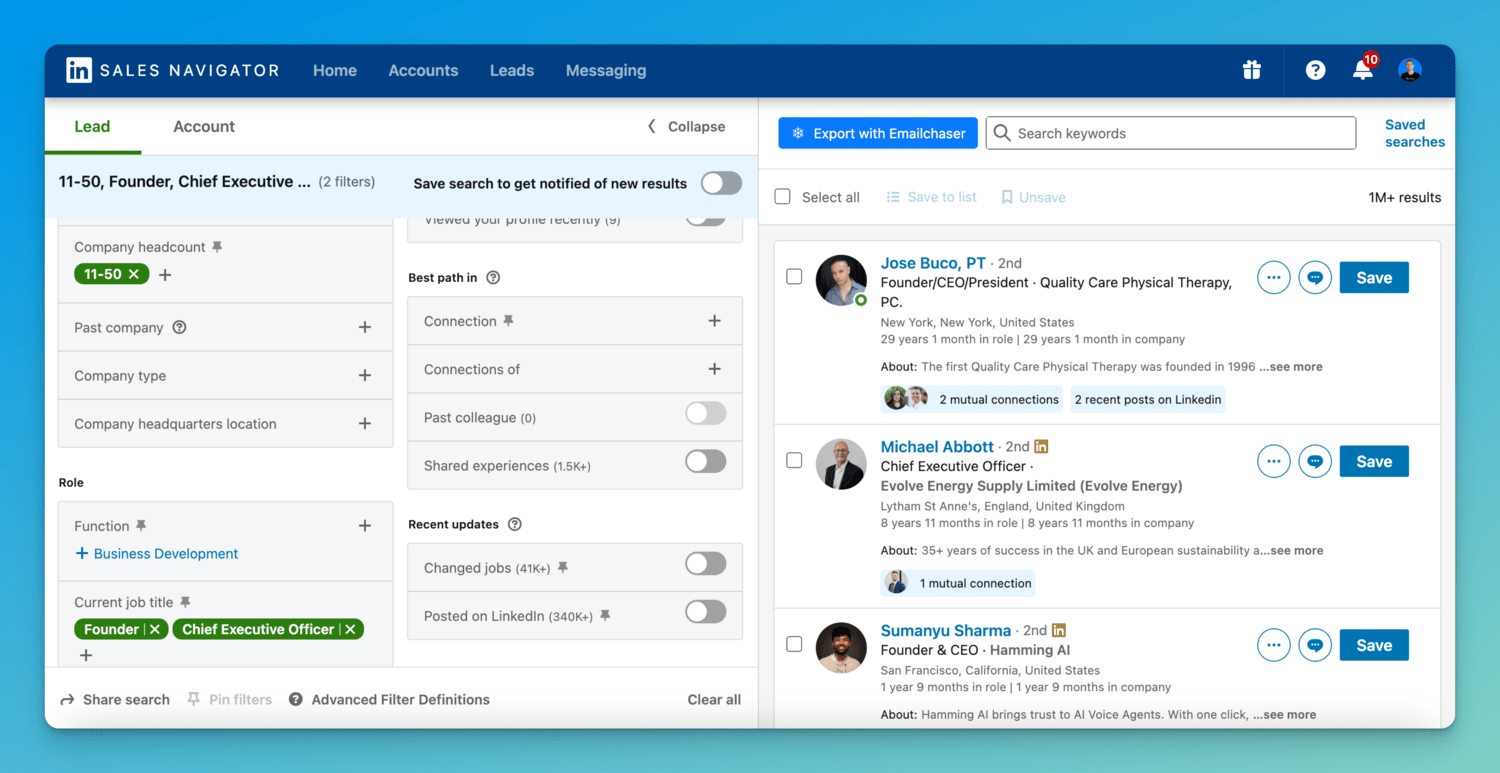
Emailchaser's Lead Finder feature allows you to extract leads (with their emails) directly from LinkedIn Sales Navigator.
It also double-verifies each email address, meaning that your bounce rate will be less than one per cent.
3. Sending emails
Now that you have your email accounts and lead list ready, you can start sending cold emails.
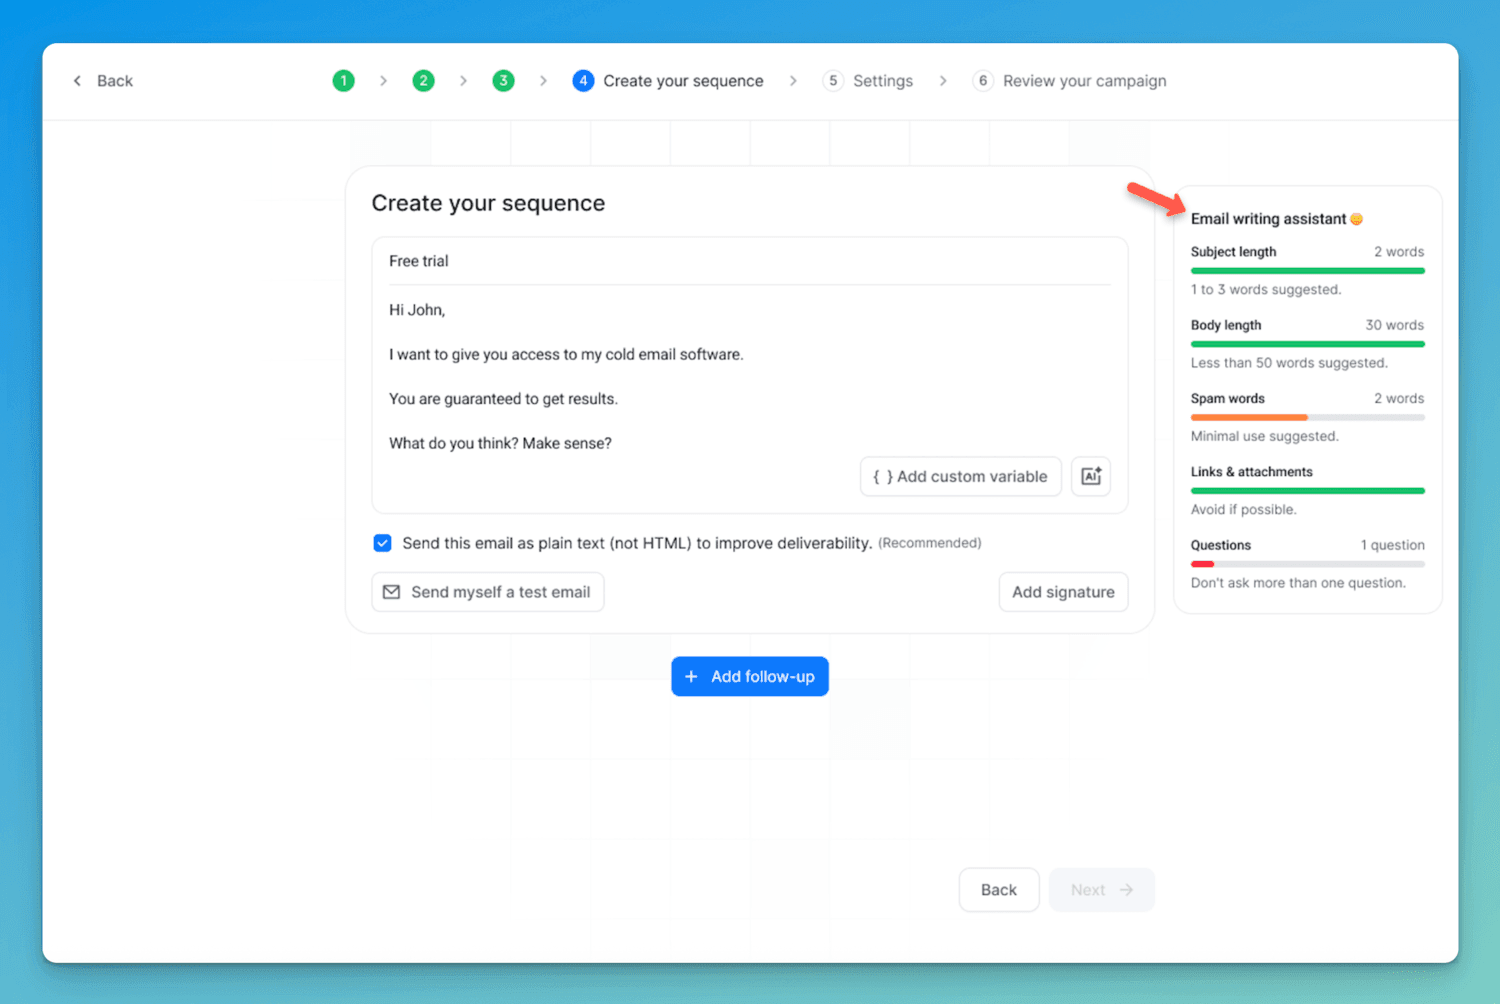
Before you send your emails, you must first write your copy. You can learn how to do this in my article How To Write A Cold Email.
The next step is to connect your email accounts to a cold email software (like Emailchaser). The reason why you need to do this is because if you are sending a higher volume of emails, then you need to use a tool like Emailchaser to take advantage of inbox rotation. You can see what's included on each plan on the pricing page.
Inbox rotation allows you to connect multiple email accounts to a single campaign, so you can keep sending volume low on each individual email account, but still scale your overall volume. If you don’t do this, then your cold emails will go to spam.
To learn more about how Emailchaser prevents your cold emails from going to spam, check out my article 12 Ways That Emailchaser Prevents Your Cold Emails From Going To Spam.
4. Scaling & optimizing
You should never scale a cold email campaign without first testing it on a smaller level.
If you see a campaign performing well on a smaller level, then you can scale it by adding more leads.
You must test different campaigns before you scale the winner, otherwise, you’ll burn through your entire lead list with a campaign that no one responds to.
If you send your cold emails with Emailchaser, then you can see the analytics of each campaign; this allows you to make informed decisions before scaling.
I recommend that you don't scale a campaign unless it has at least a 2% reply rate.

Final thoughts
If you do the following, then your cold emails will land in the primary inbox:
- Set up your email accounts through Google Workspace
- Build a relevant lead list with LinkedIn Sales Navigator
- Use a specialized cold email sending tool like Emailchaser
- Achieve at least a 2% reply rate before you scale
On a related note, your copy is one of the most important factors affecting your deliverability.
You can see what high performing email copy looks like in my article 7 Best Cold Email Templates For B2B Outreach. If you're still picking a tool, compare your options in my best cold email software guide and my Instantly vs Emailchaser comparison.


Article by
George Wauchope
Founder of Emailchaser.
I have been working in the sales & marketing industry for nearly a decade.
When I’m not working on my business, I enjoy eating sushi & doing jiu-jitsu.
About the author
Address: 151 Calle de San Francisco San Juan, Puerto Rico
Email: support@emailchaser.com
Product
Cold Email SoftwareEmail FinderCampaignsSales CRMLead FinderEmail AccountsEmail VerifierAPI documentationComparisons
Best cold email softwareInstantly alternativesSmartlead alternativesInstantly vs EmailchaserSmartlead vs EmailchaserHunter vs EmailchaserFree tools
All free toolsEmail PermutatorCompany Email FormatEmail ExtractorEmail CheckerSpam Word CheckerSPF Record GeneratorFollow-Up GeneratorOut of Office GeneratorInternational
Cold email (ES)Cold email (FR)Cold email (DE)Cold email (IT)Cold email (PT)Verifica email (IT)© Copyright 2026 Emailchaser